How to make a basket with colored paper

Children do handwork has many advantages, suitable for children to do handicrafts to be simple, easy to learn.
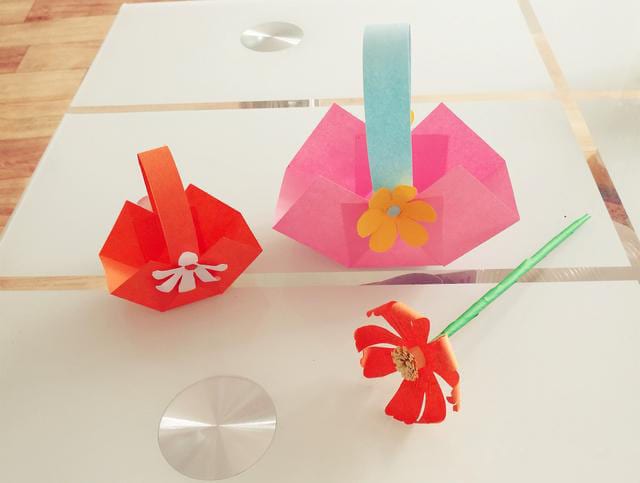
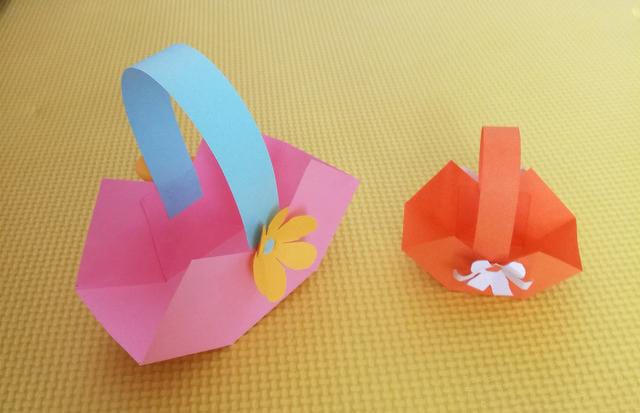
The following is a very good small basket to do, with color cardboard, can be used as kindergarten manual homework.
It can also be hand-made by parents and children.
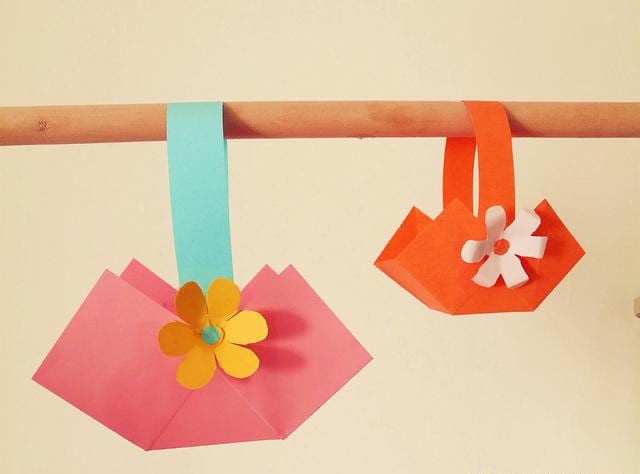
Production process:
Preparation materials: cardboard, glue, scissors.
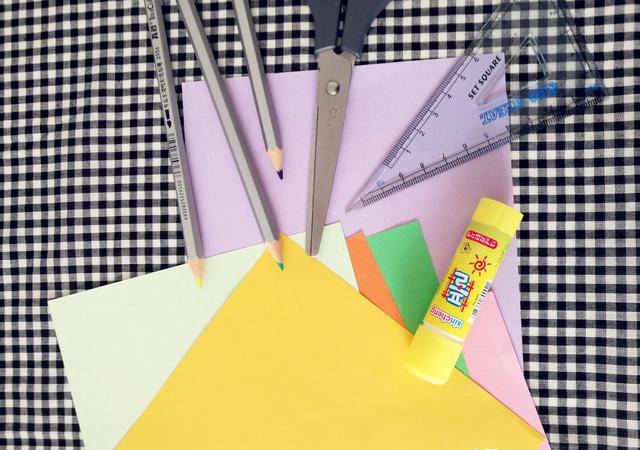
A square paper jam, as shown in the figure below
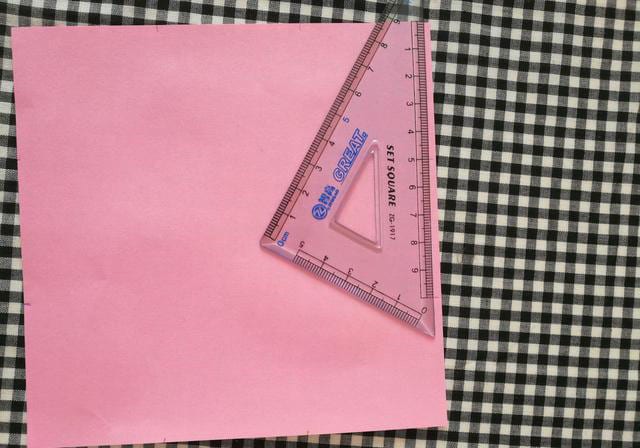
Fold at one third, as shown below
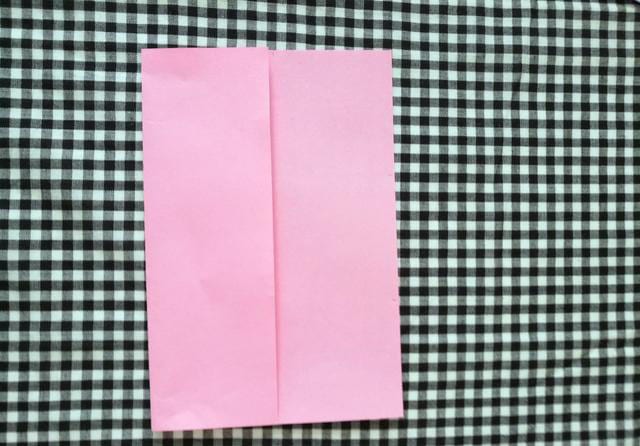
The other side is also folded, as shown in the figure below
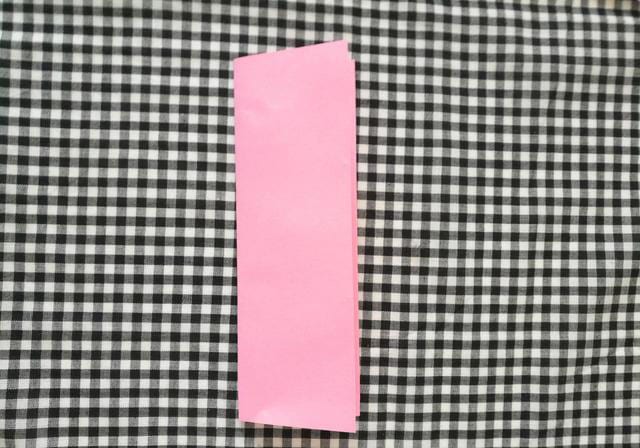
Unfold and two creases appear.
In the vertical direction, it is also folded at one third, as shown in the figure below
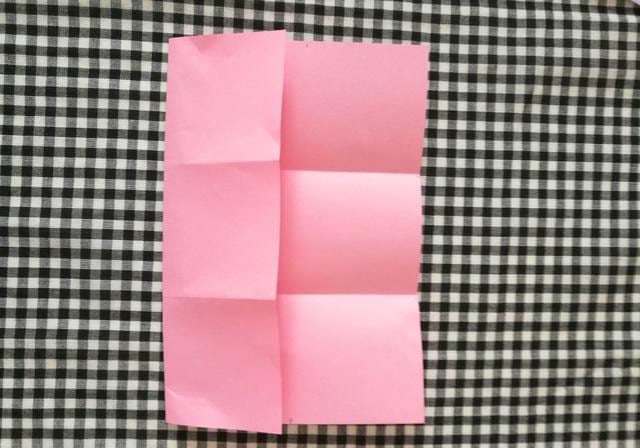
Fold it again, as shown in the figure below
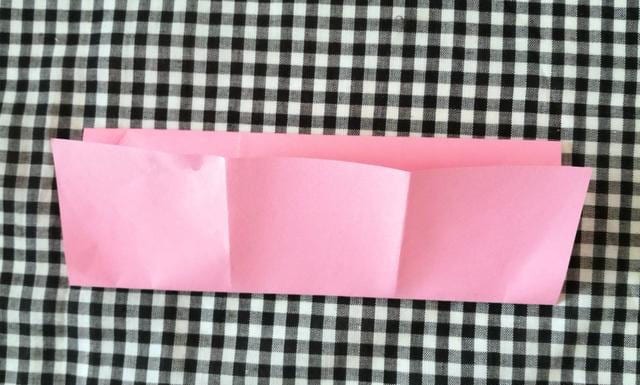
See the figure below
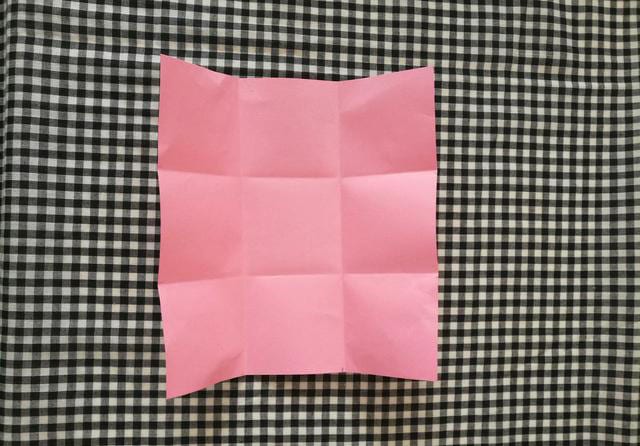
Cut in the position shown in the figure below
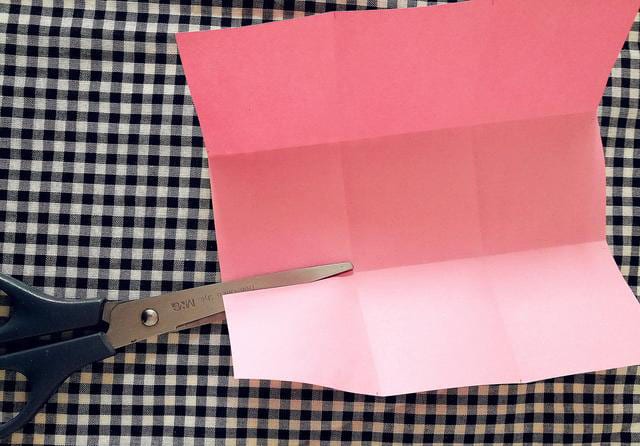
It’s also cut on the left, as shown in the figure below
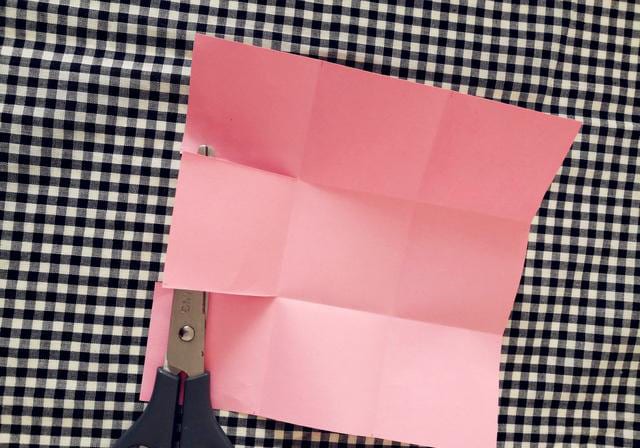
The opposite side is also cut, as shown in the figure below
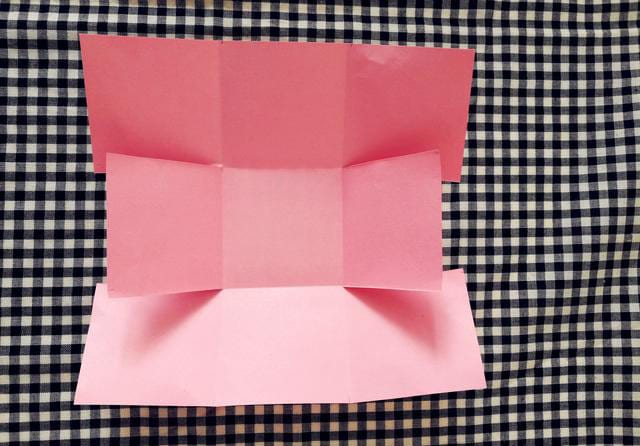
Fold up the middle one, as shown below
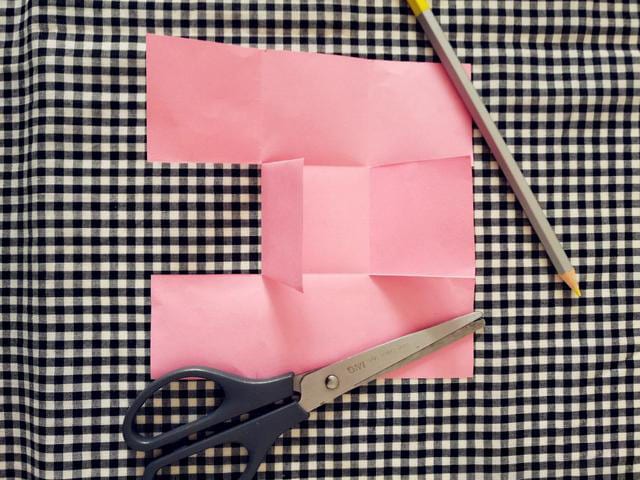
Apply glue at the bottom as shown in the figure
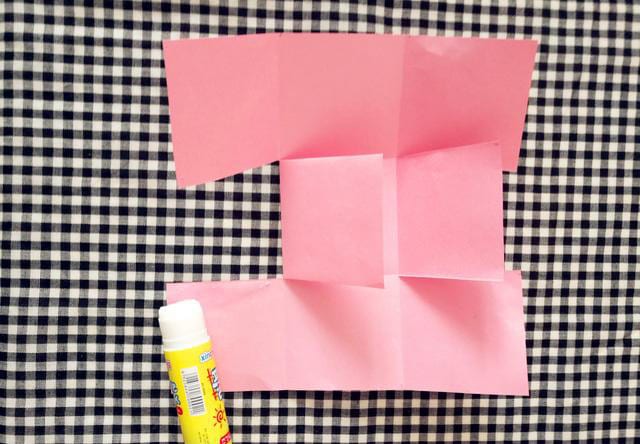
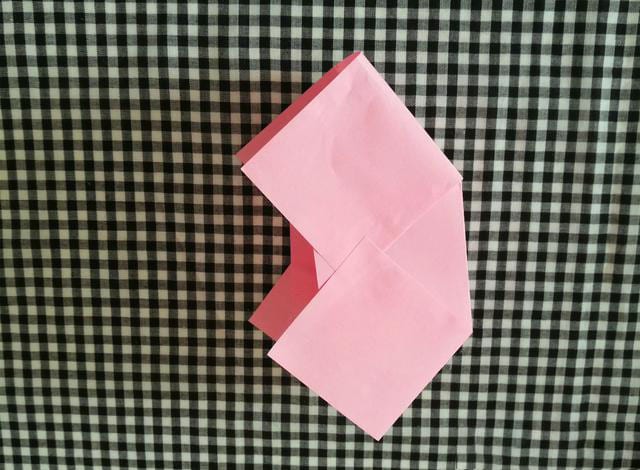
Pull the bottom corner to the top of the middle one and paste it. See the picture below
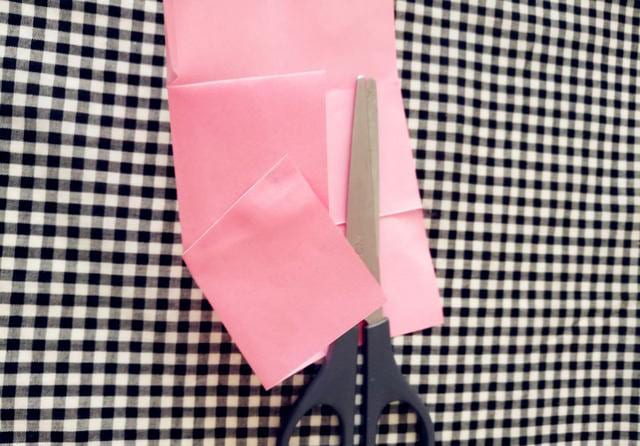
Pull the opposite piece of paper onto the middle piece of paper and paste it, as shown in the figure below
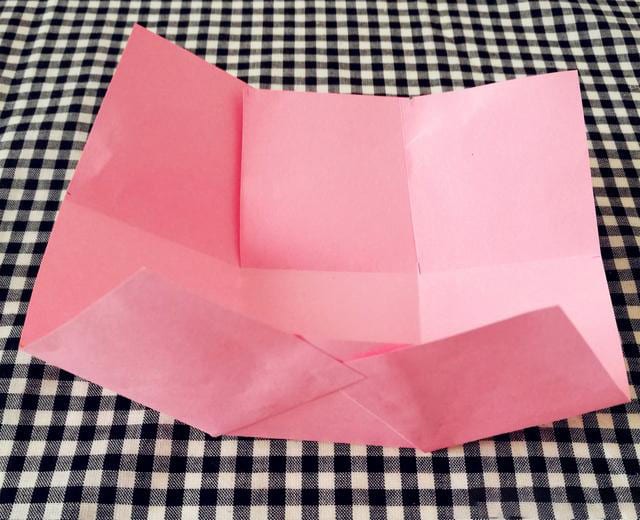
The other side is glued in the same way, and the big shape of the small basket comes out
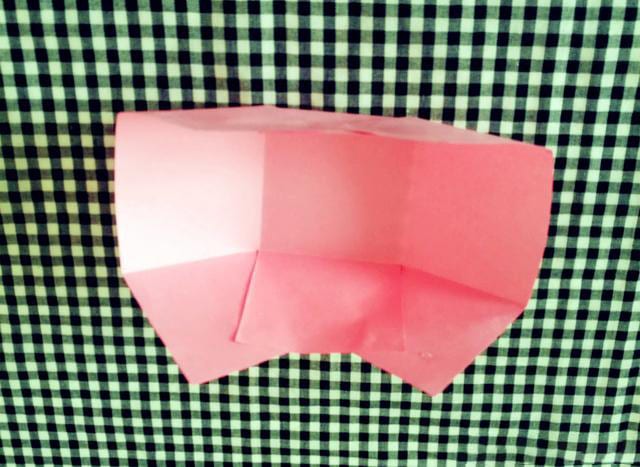
Take a side look
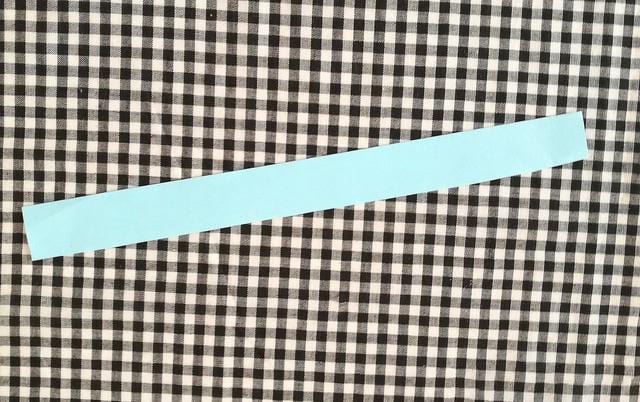
Cut a thin strip of paper, as shown in the figure below
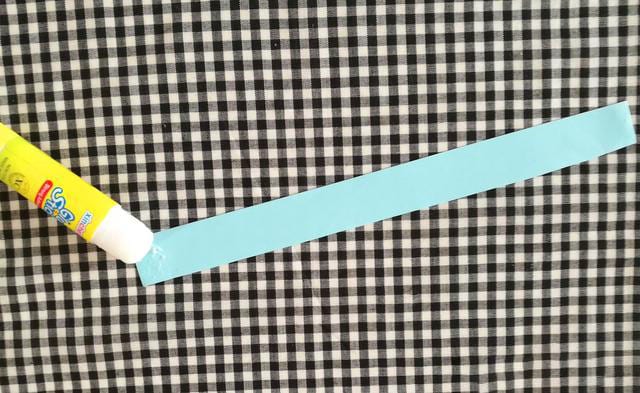
Apply glue at the edges of both sides, as shown in the figure below
Stick to the inside of the small basket as shown in the figure
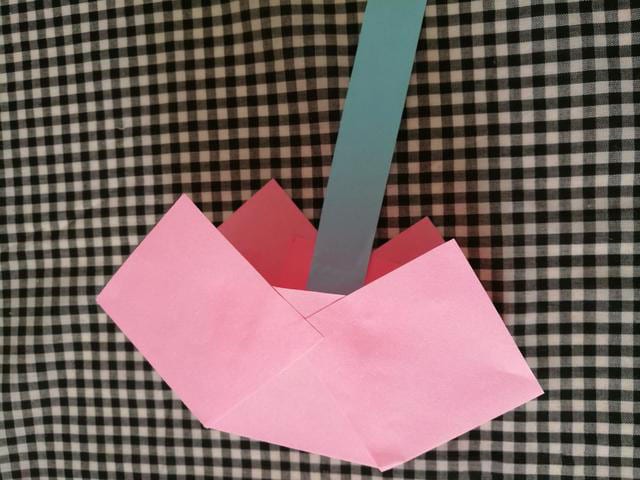
The other side is also glued, as shown in the figure below
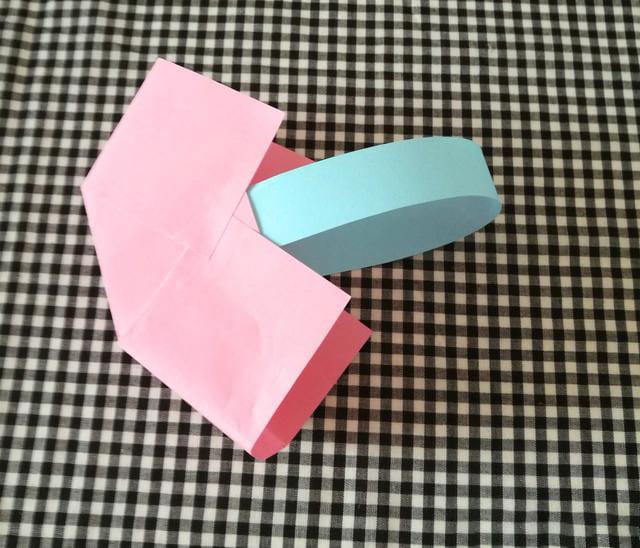
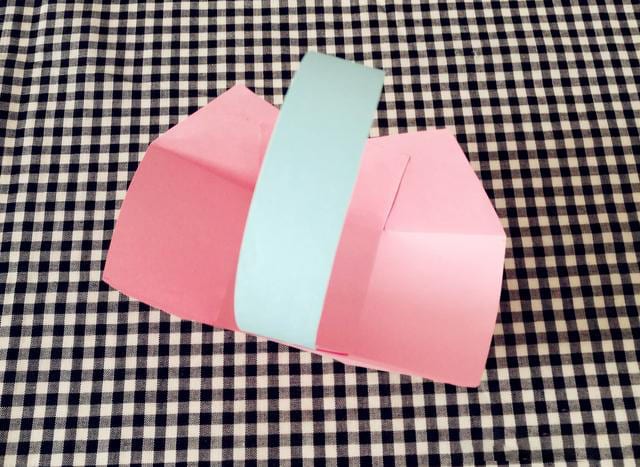
Standing up
Cut two more pieces of square paper, as shown in the figure below
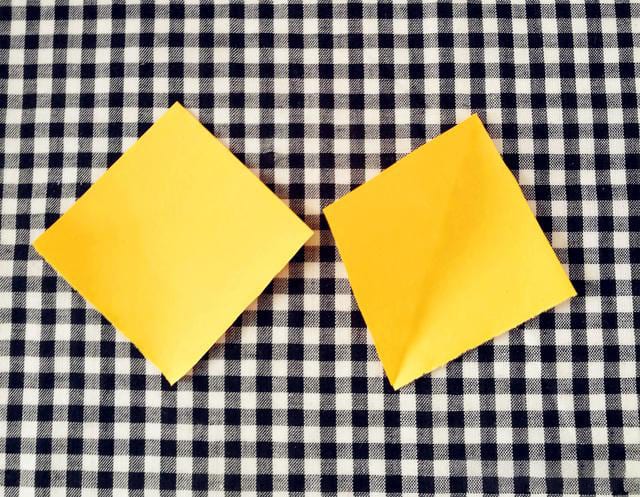
Fold diagonally, as shown in the following figure
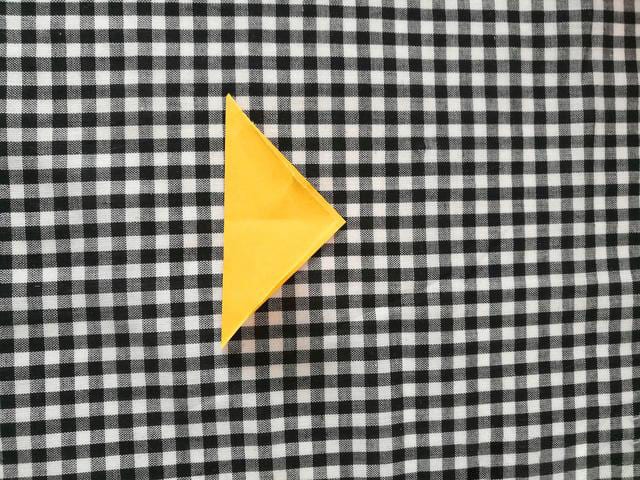
Fold it again, as shown in the figure below
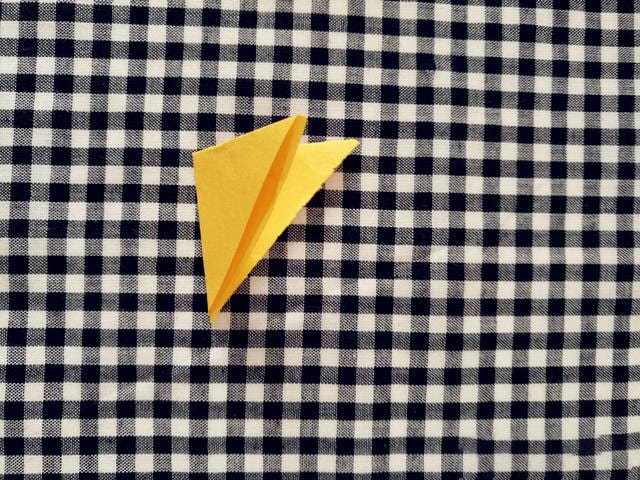
Fold it in half again for three times
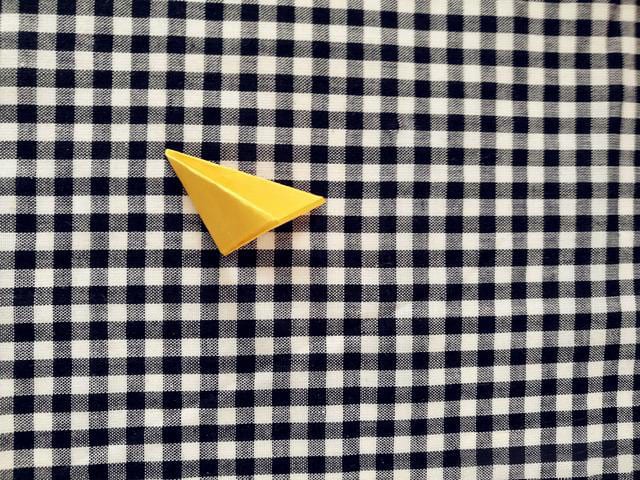
Draw the shape of the petals
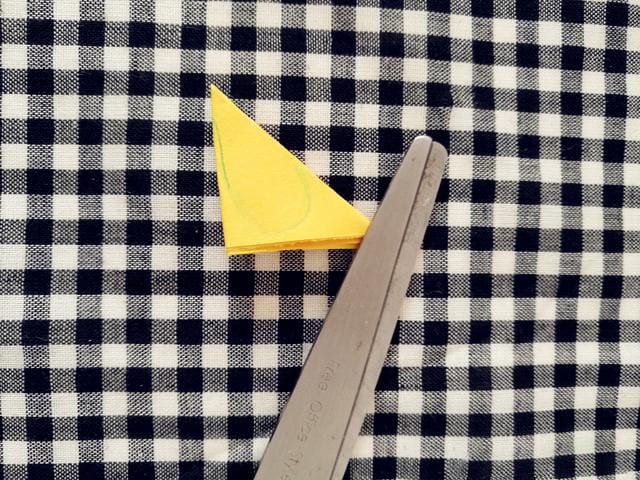
Cut it out, see below
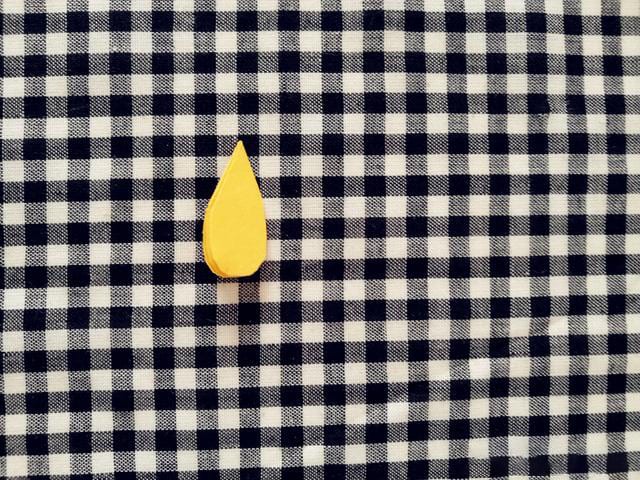
Unfold, the shape of the petals comes out
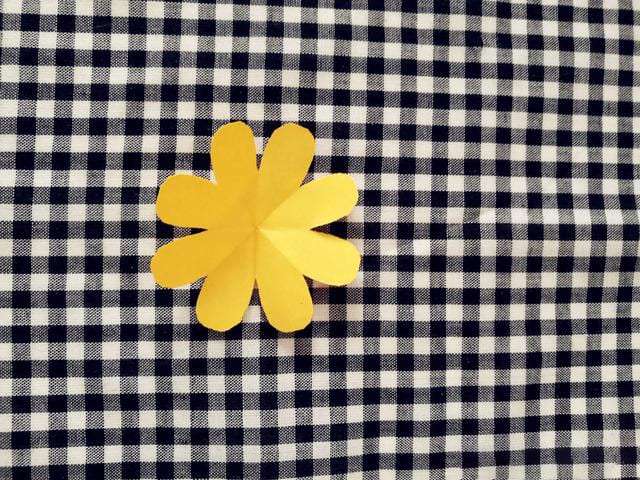
Cut it at the position shown
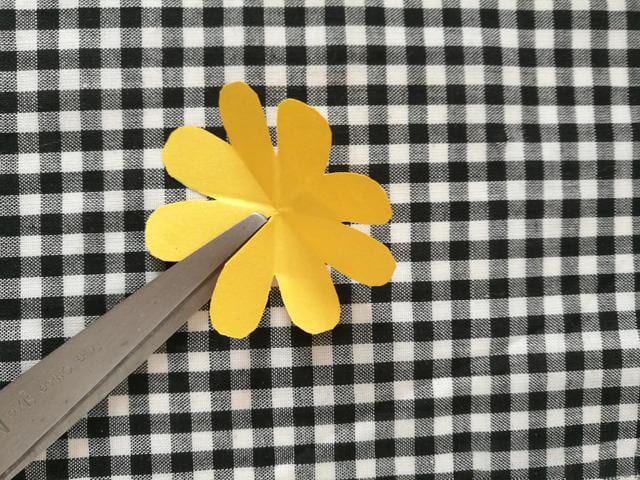
Glue the petals as shown
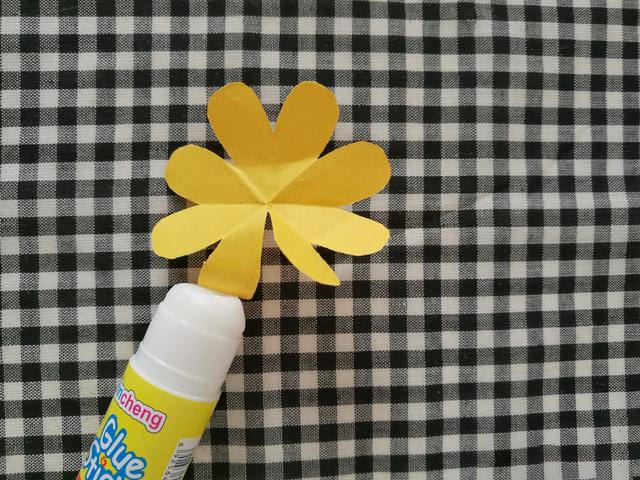
Pull the adjacent petals and glue them together, and the floret will be three-dimensional
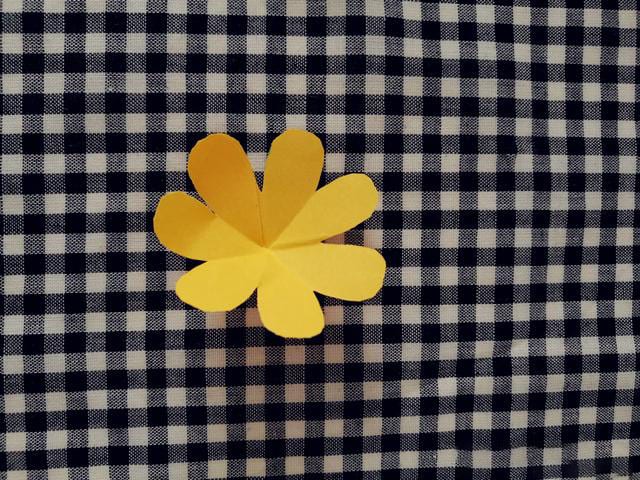
Cut a small circle, as shown in the figure below
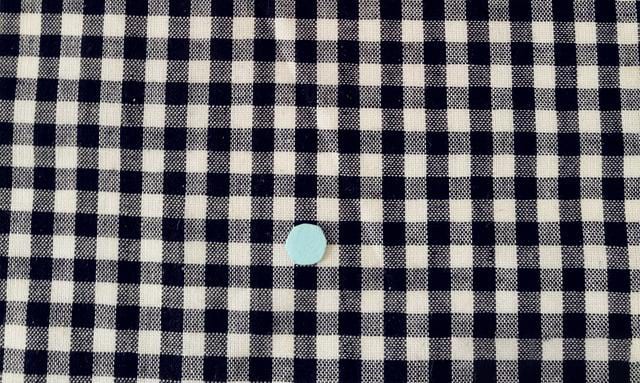
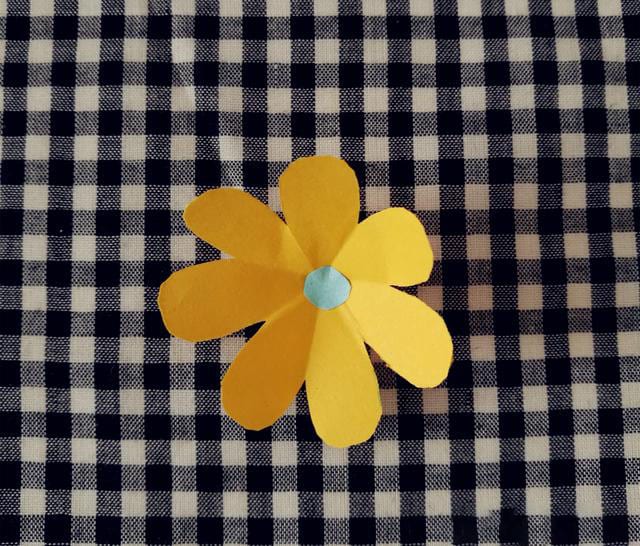
Glue the small circle to the center of the flower as the center, as shown in the figure below
Glue the back of floret
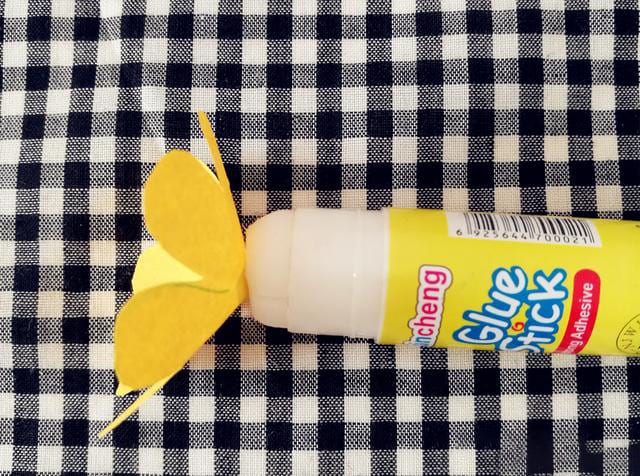
Stick to the position shown in the figure below
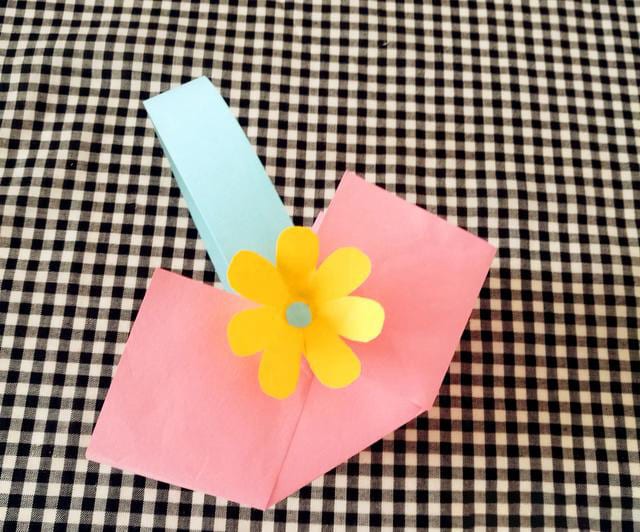
Make the same little flower on the other side
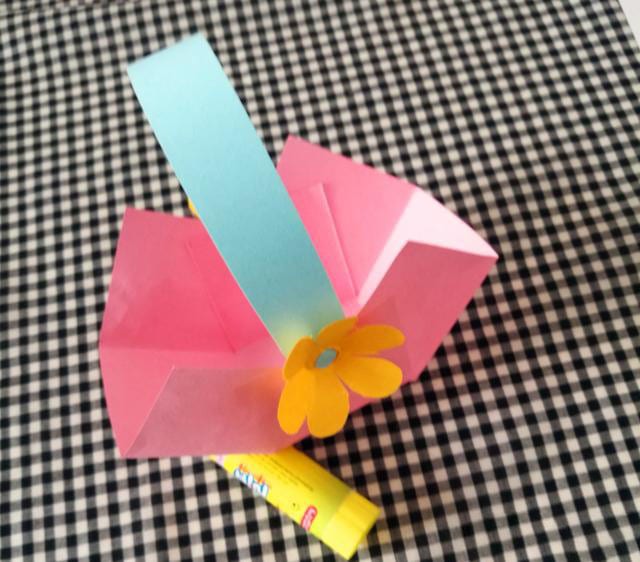
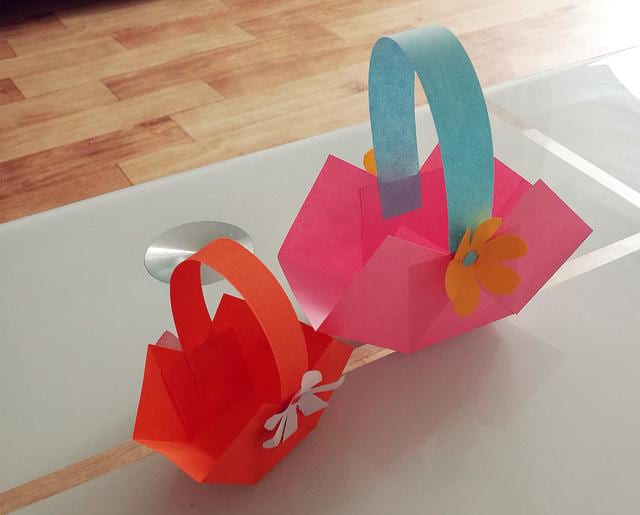
A small basket is done
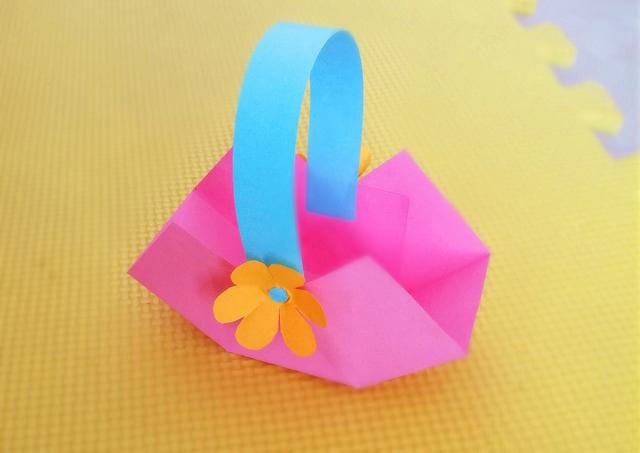
In the same way, I made a small orange basket
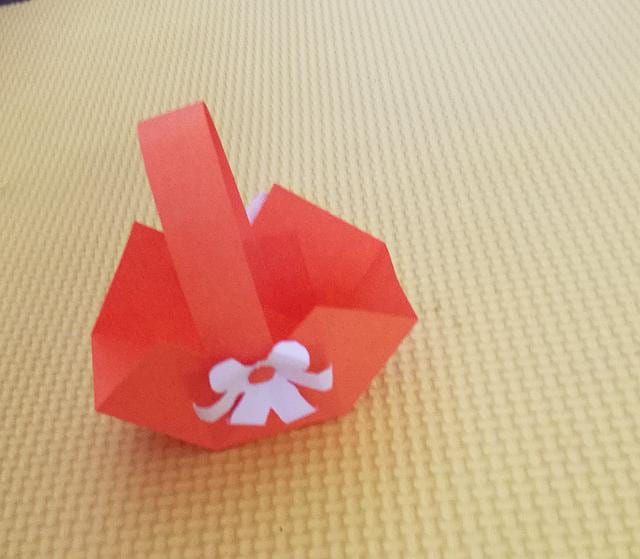
Put it together and see how it works
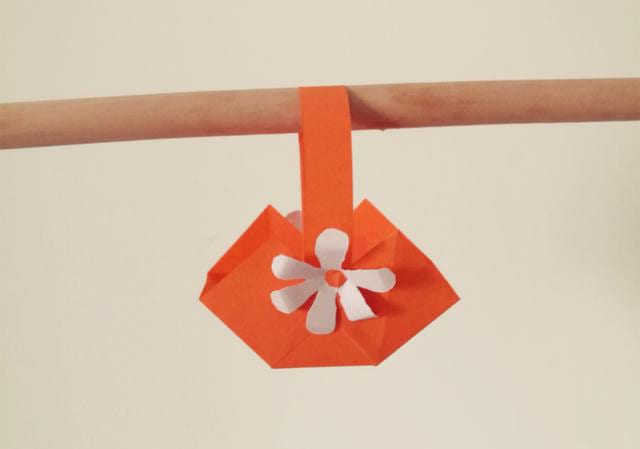
Hanging up
This little basket is easy to learn and can be tried by both boys and girls.
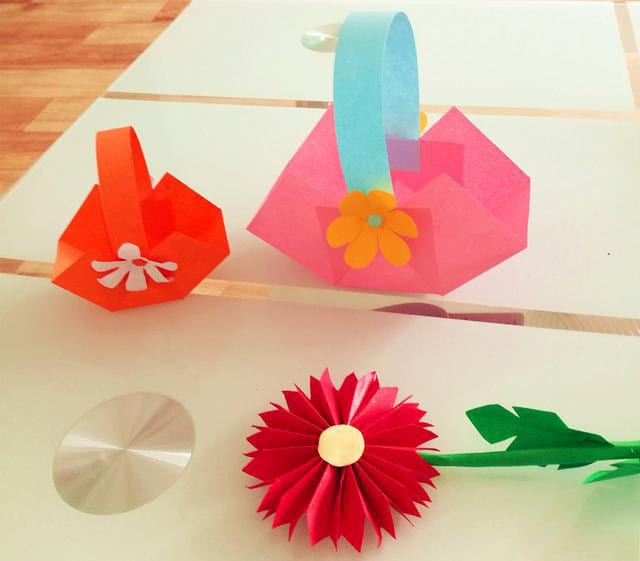
The small decorations on the basket are optional.
Try to make one. It’s done with thick cardboard. You can put a little bit of small things in it,
It can also be used as children’s toys or props for the family.


