How to make a colorful windmill
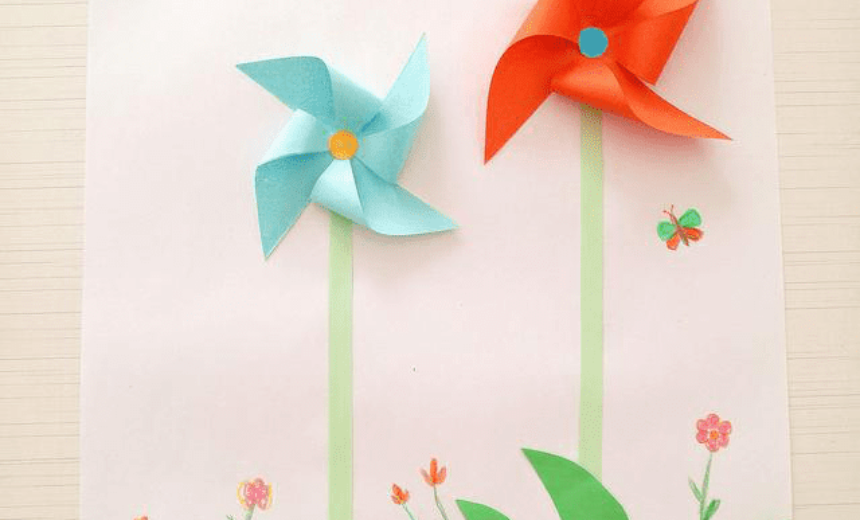

Windmill this happy melody, children are very familiar with and like, hear this song, you can feel the joy of childhood.

Today, let’s stick a picture of a big windmill.
Let the children’s childhood be full of joy every day, like the brilliant sunshine in the painting.

Production process:
Handmade materials and tools to be prepared
Color cards, pens, scissors and glue

Cut out a small square out of the colored cardboard, as shown in the figure below

Fold diagonally, as shown in the following figure

After unfolding, fold it vertically, as shown in the figure below

As shown in the figure below

Cut according to the fold marks, cut to the position shown in the figure below, do not cut to the middle

Four creases are cut, the middle position is not cut, as shown in the figure below

Apply glue in the middle position as shown in the figure below

Pull a corner to the middle and paste it, as shown in the figure below

The corner of another piece of paper is also pulled to the middle and pasted, as shown in the figure below

The third corner is also pasted
Apply glue again in the middle position, as shown in the figure below

Paste the fourth corner in the same way, as shown in the figure below
The overall shape of the small windmill is done

Then cut out a small circle, glue, as shown in the figure below

Paste the small circle in the middle, as shown in the figure below
Make a windmill

Make another windmill, as shown in the figure below

Cut out two more pieces of paper, as shown in the figure below

Apply glue on the paper, as shown in the figure below

Paste the paper on the white paper as shown in the figure below

Glue the back of the windmill as shown in the figure below

Paste the windmill on the top of the paper, as shown in the figure below
Paste another piece of paper in the position shown below

Paste the blue windmill in the position shown in the figure below

Cut another circle, when the sun, as shown below

Apply glue to the back of the circle as shown in the figure below

Paste in the position shown in the following figure

Paint the sun with light, as shown below

Cut out two more clouds randomly, as shown in the figure below

Glue the back of the cloud, as shown in the figure below

Stick the clouds in the position shown in the figure below

Another cloud is pasted

Cut out a few more pieces of green grass, as shown in the figure below

Glue the back of the grass, as shown in the figure below

Paste the glued green grass to the bottom of the screen, as shown in the figure below

In addition, several pieces of green grass are also coated with glue and pasted to the position shown in the figure below

You can also draw a few flowers at will, as shown in the figure below

You can also draw two more flowers to express the sun and clouds, as shown in the figure below

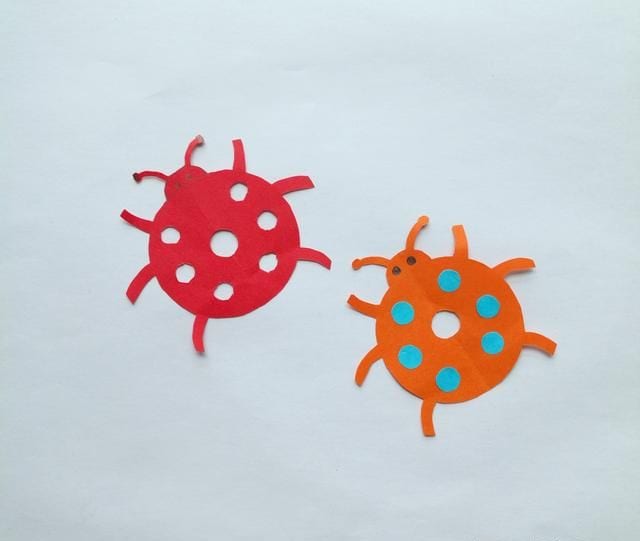
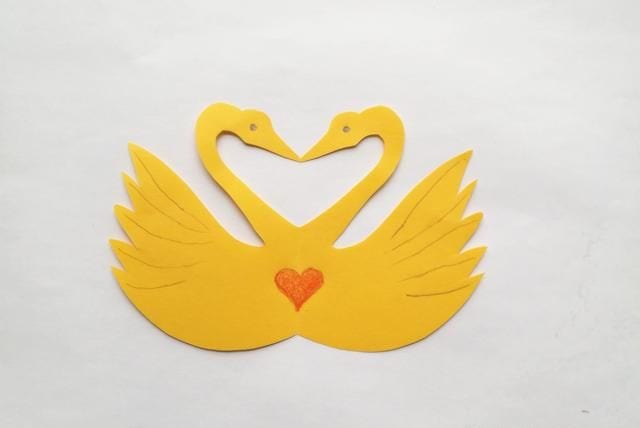
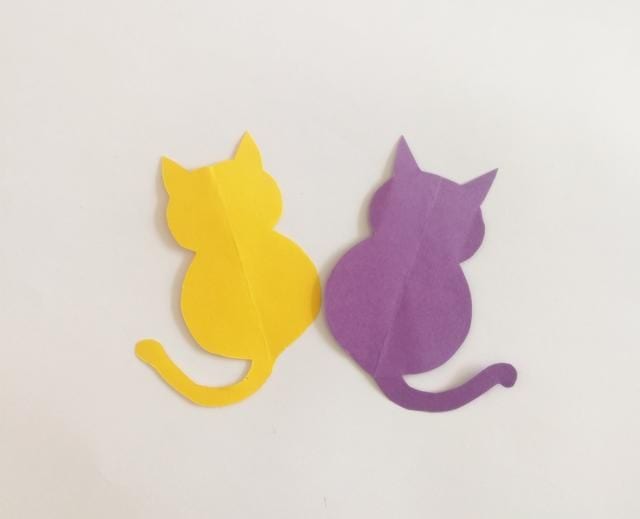
We can also paste in the blank space the birds and butterflies we cut in front of us, as well as ladybugs and bees that we have done in front of us, so as to enrich the picture

You can also draw butterflies, bees, balloons, airplanes, etc. children can paste and draw at will

In the posters full of children’s interest, let the children play their imagination freely, paste their own works with smart hands, and draw the best picture in their hearts.


